Beef Bone Broth
The affordable bone broth recipe involves roasting beef bones, simmering them with vegetables and apple cider vinegar in a pressure or slow cooker, and straining the broth to create a nutrient-rich liquid packed with collagen, amino acids, and protein.
Print
Pin
Servings: 16 cups
Calories: 41kcal
Cost: $1.15 per cup
Equipment
- 2 roasting pans
- 1 cutting board
- 2 pressure cookers
- 4-5 32 ounce mason jars with lids
- 1 metal strainer
- 1 large metal saucepan
Ingredients
- 5 to 7 pounds beef bones (grass-fed, grass-finished) can be any animal bones
- 2 large chopped onions
- 8 large chopped carrots
- 6 chopped celery stalks
- 1-4 tbsp minced garlic
- 1 tbsp pepper (to taste)
- 2 tbsp apple cider vinegar
- 24 cups water (enough to cover the bones and up to the max line in your pressure cooker)
Instructions
Roast the Bones
- Preheat the oven to 400°F.
- Place the bones in one layer on a roasting pan. I used two pans.
- Roast for 40 minutes and turn them halfway through (I forgot, and they still turned out fine).
Simmer the Bones (2 pressure cookers)
- Next, place the half of the bones each pressure cooker or slow cooker. I used a pressure cooker to speed up the process. I used high pressure for 120 minutes (2 hours).
- Put one chopped onion, four chopped caroots, and 3 chopped celery stalks in each pressure cooker.
- Add garlic powder and pepper to your preference.
- Add 1 tbsp of apple cider vinegar to each pressure cooker.
- (Cook on low for at least 12 hours in a slow cooker)
- After two hours of pressure cooking, I switched to slow cooker mode for another 12 to 24 hours.
Strain the Bone Broth
- Once finished simmering, I strained the broth with a metal strainer into a glass bowl or large metal saucepan. I tossed the vegetables and bone pieces.
- Once the broth has cooled, you may notice a layer of fat on top. You can strain this off or leave it. I strained most of it off.
Store the Bone Broth
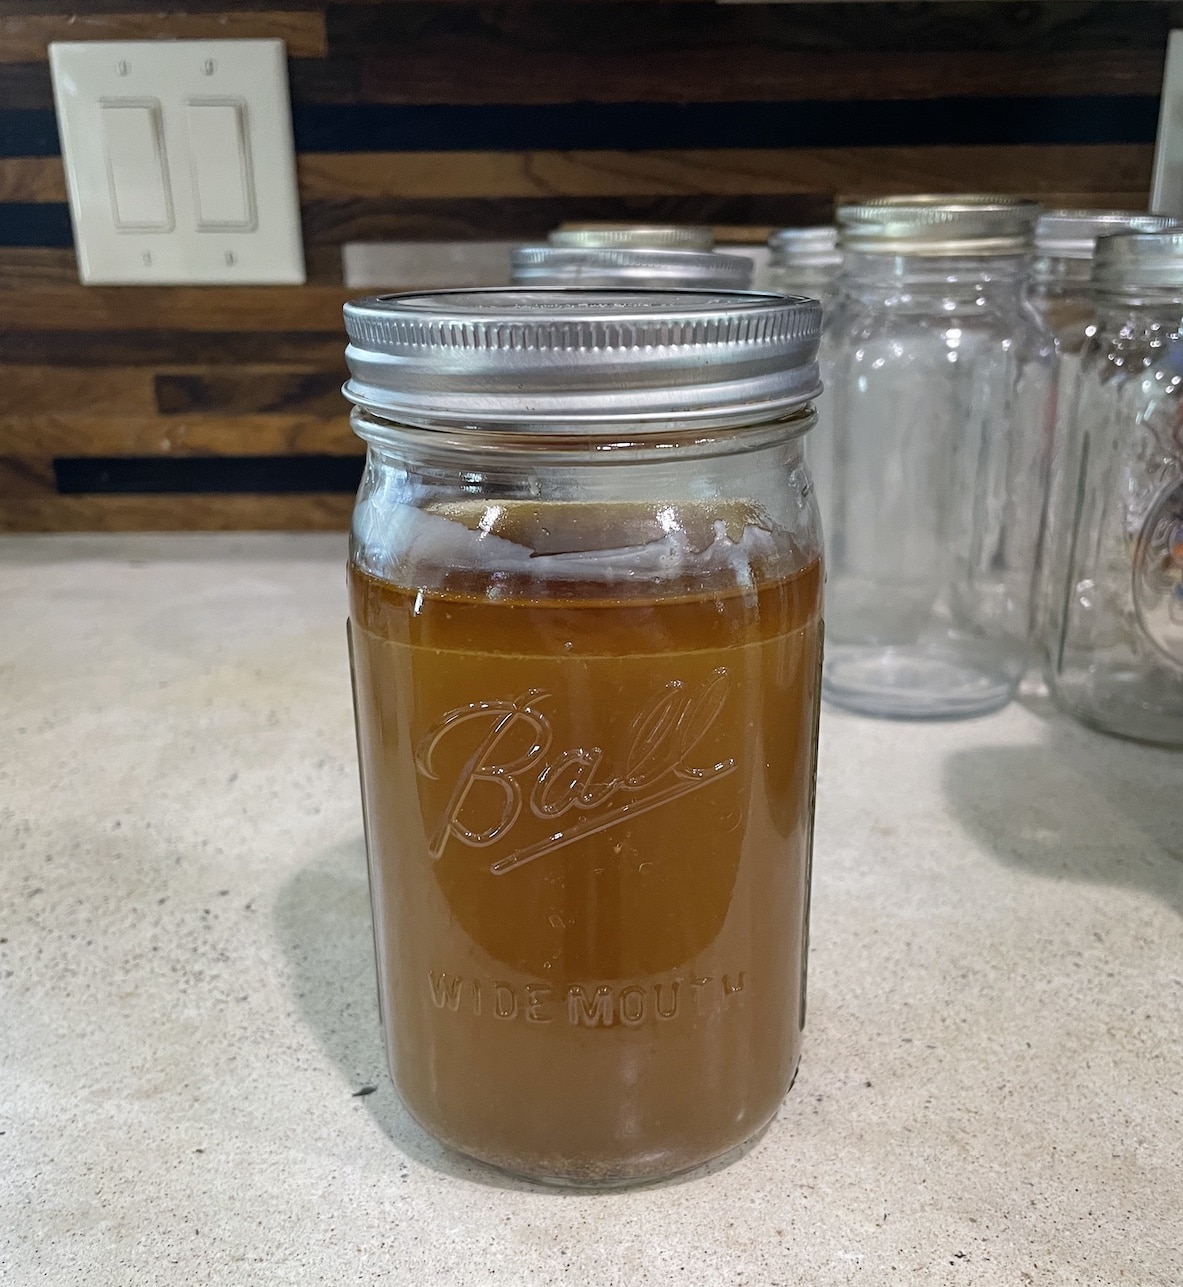
- Next, pour the bone broth into glass mason jars. This recipe requires about 5-32 ounce mason jars. The wide mouth jars work best, especially if you are freezing them. I leave about an inch at the top of the jar for expansion as the liquid freezes.
- Label and date your jars. You can store the bone broth in the refrigerator for up to 7 days or in the freezer for 6 months.
- I put all the jars in the refrigerator first, and then transfer the ones I plan to freeze after they have cooled.
- Enjoy as a warm beverage or in recipes over the next 6 months.
Nutrition
Calories: 41kcal (2%) | Protein: 10g (20%) | Fat: 1g (2%) | Saturated Fat: 0.5g (3%) | Sodium: 350mg (15%) | Calcium: 31mg (3%)